With a title like that you might be wondering if you’ve come to the wrong place, but don’t worry, you’re exactly where you’re supposed to be.
I mentioned on Friday that I was planning something that was a little bit outside of my usual realm of weekend activities. For those of you that know me, you know that I like books, snuggles, eating amazing food, board games and fishing. My life is typically pretty mellow. I sit AWAY from the campfire so there is no chance of the embers landing on me. Even if I’m a little chilly. After all, fire is dangerous business!
The last time I used a power tool was so long ago all I can say is that it was probably a drill, and most likely back when I was still in high school. Mildly tragic, I know. But don’t worry – I’ve changed all that!
About two months ago I was flicking through the Catalogue of courses that the Continuing Studies Department of the Medicine Hat College offers, and I came across a ‘Creative Ironworking’ class. A two day affair that promised to teach the basics of welding, even to those that were greener than a garden-fresh pea. I almost flicked to the next page without even taking a second look, but there was something about it that screamed, ‘HEY you! Little miss pyrophobic!’.
You see, I decided not too terribly long ago that I am through with letting my fears, and the things that make me uncomfortable, run my life. As it turns out, the best way to get over something is to jump in with both feet. Or in this case, both steel toed, leather booted feet.
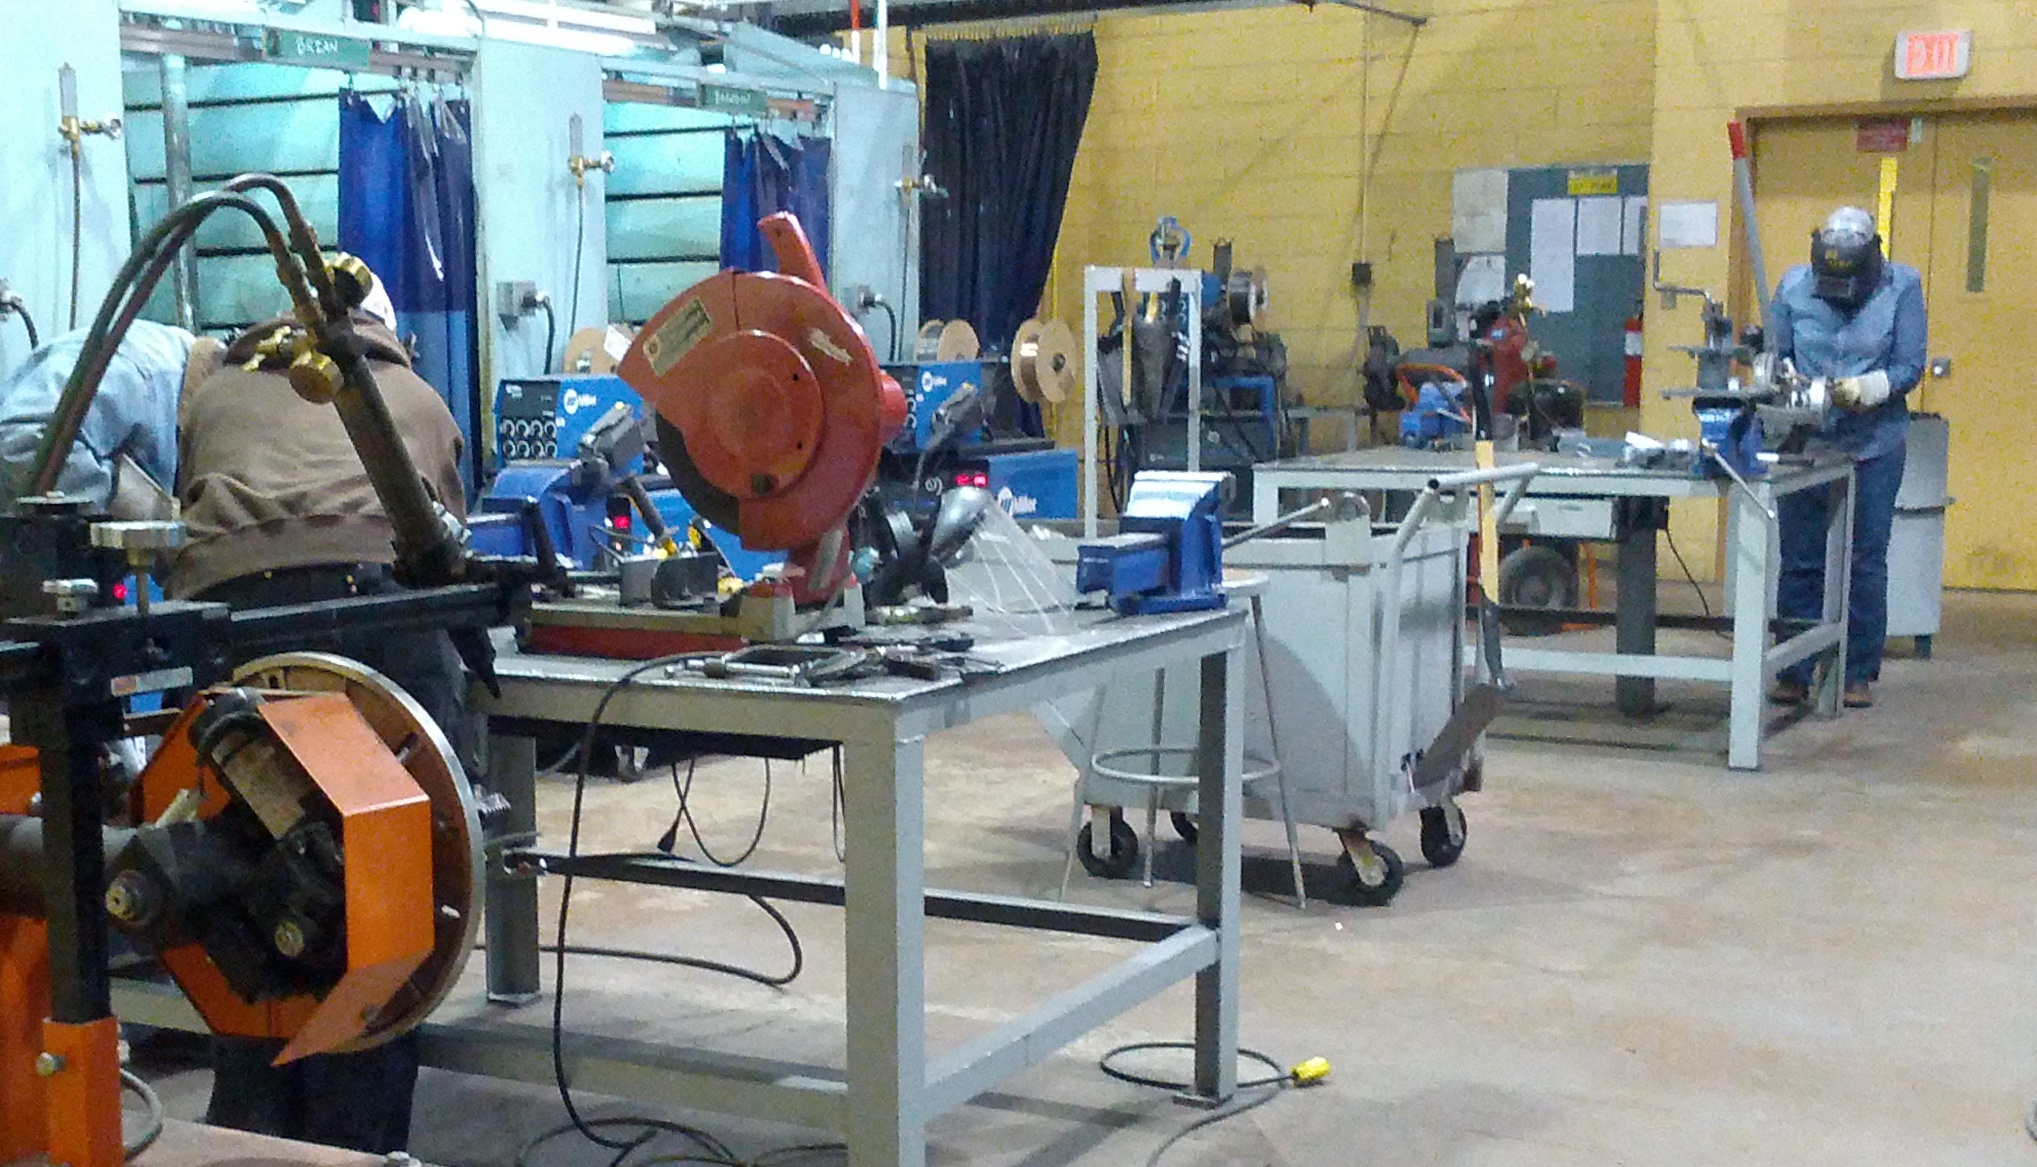
So I went to the class. One after the other, the Instructor of the class demonstrated the proper use of angle grinders, chop saws, acetylene torches and the techniques behind MIG welding, among other things. There were sparks, a LOT of them. But somehow the moment I was the one creating them, it wasn’t nearly as scary as it was being on the watching end. As a matter of fact, it was even, *GASP*, fun!! There is something empowering about sawing through a hunk of metal as though it were butter. It makes you feel just a little bit more in-control than you did before.

Note: If you’re not interested in the details you can skip past them. Look for this. -> ***
MIG Welding
Now don’t worry, I’m not going to get too technical – I’m going to explain it in the simplest, least technical terms I possibly can (If I’m wrong, please, please tell me!). When MIG welding, you hold in your hand a torch (think of it like a gun) which is connected to a machine which controls the amount of electricity, gas and wire that flows into it. When you pull the trigger, a wire emerges from the nozzle (the barrel) of the torch along with an inert gas. When you’re close enough to the metal you are welding the electricity flowing through creates a beautiful arc from the wire to your target chunk of metal. This causes the metals to heat and melt and thus create a weld. It sounds simple.

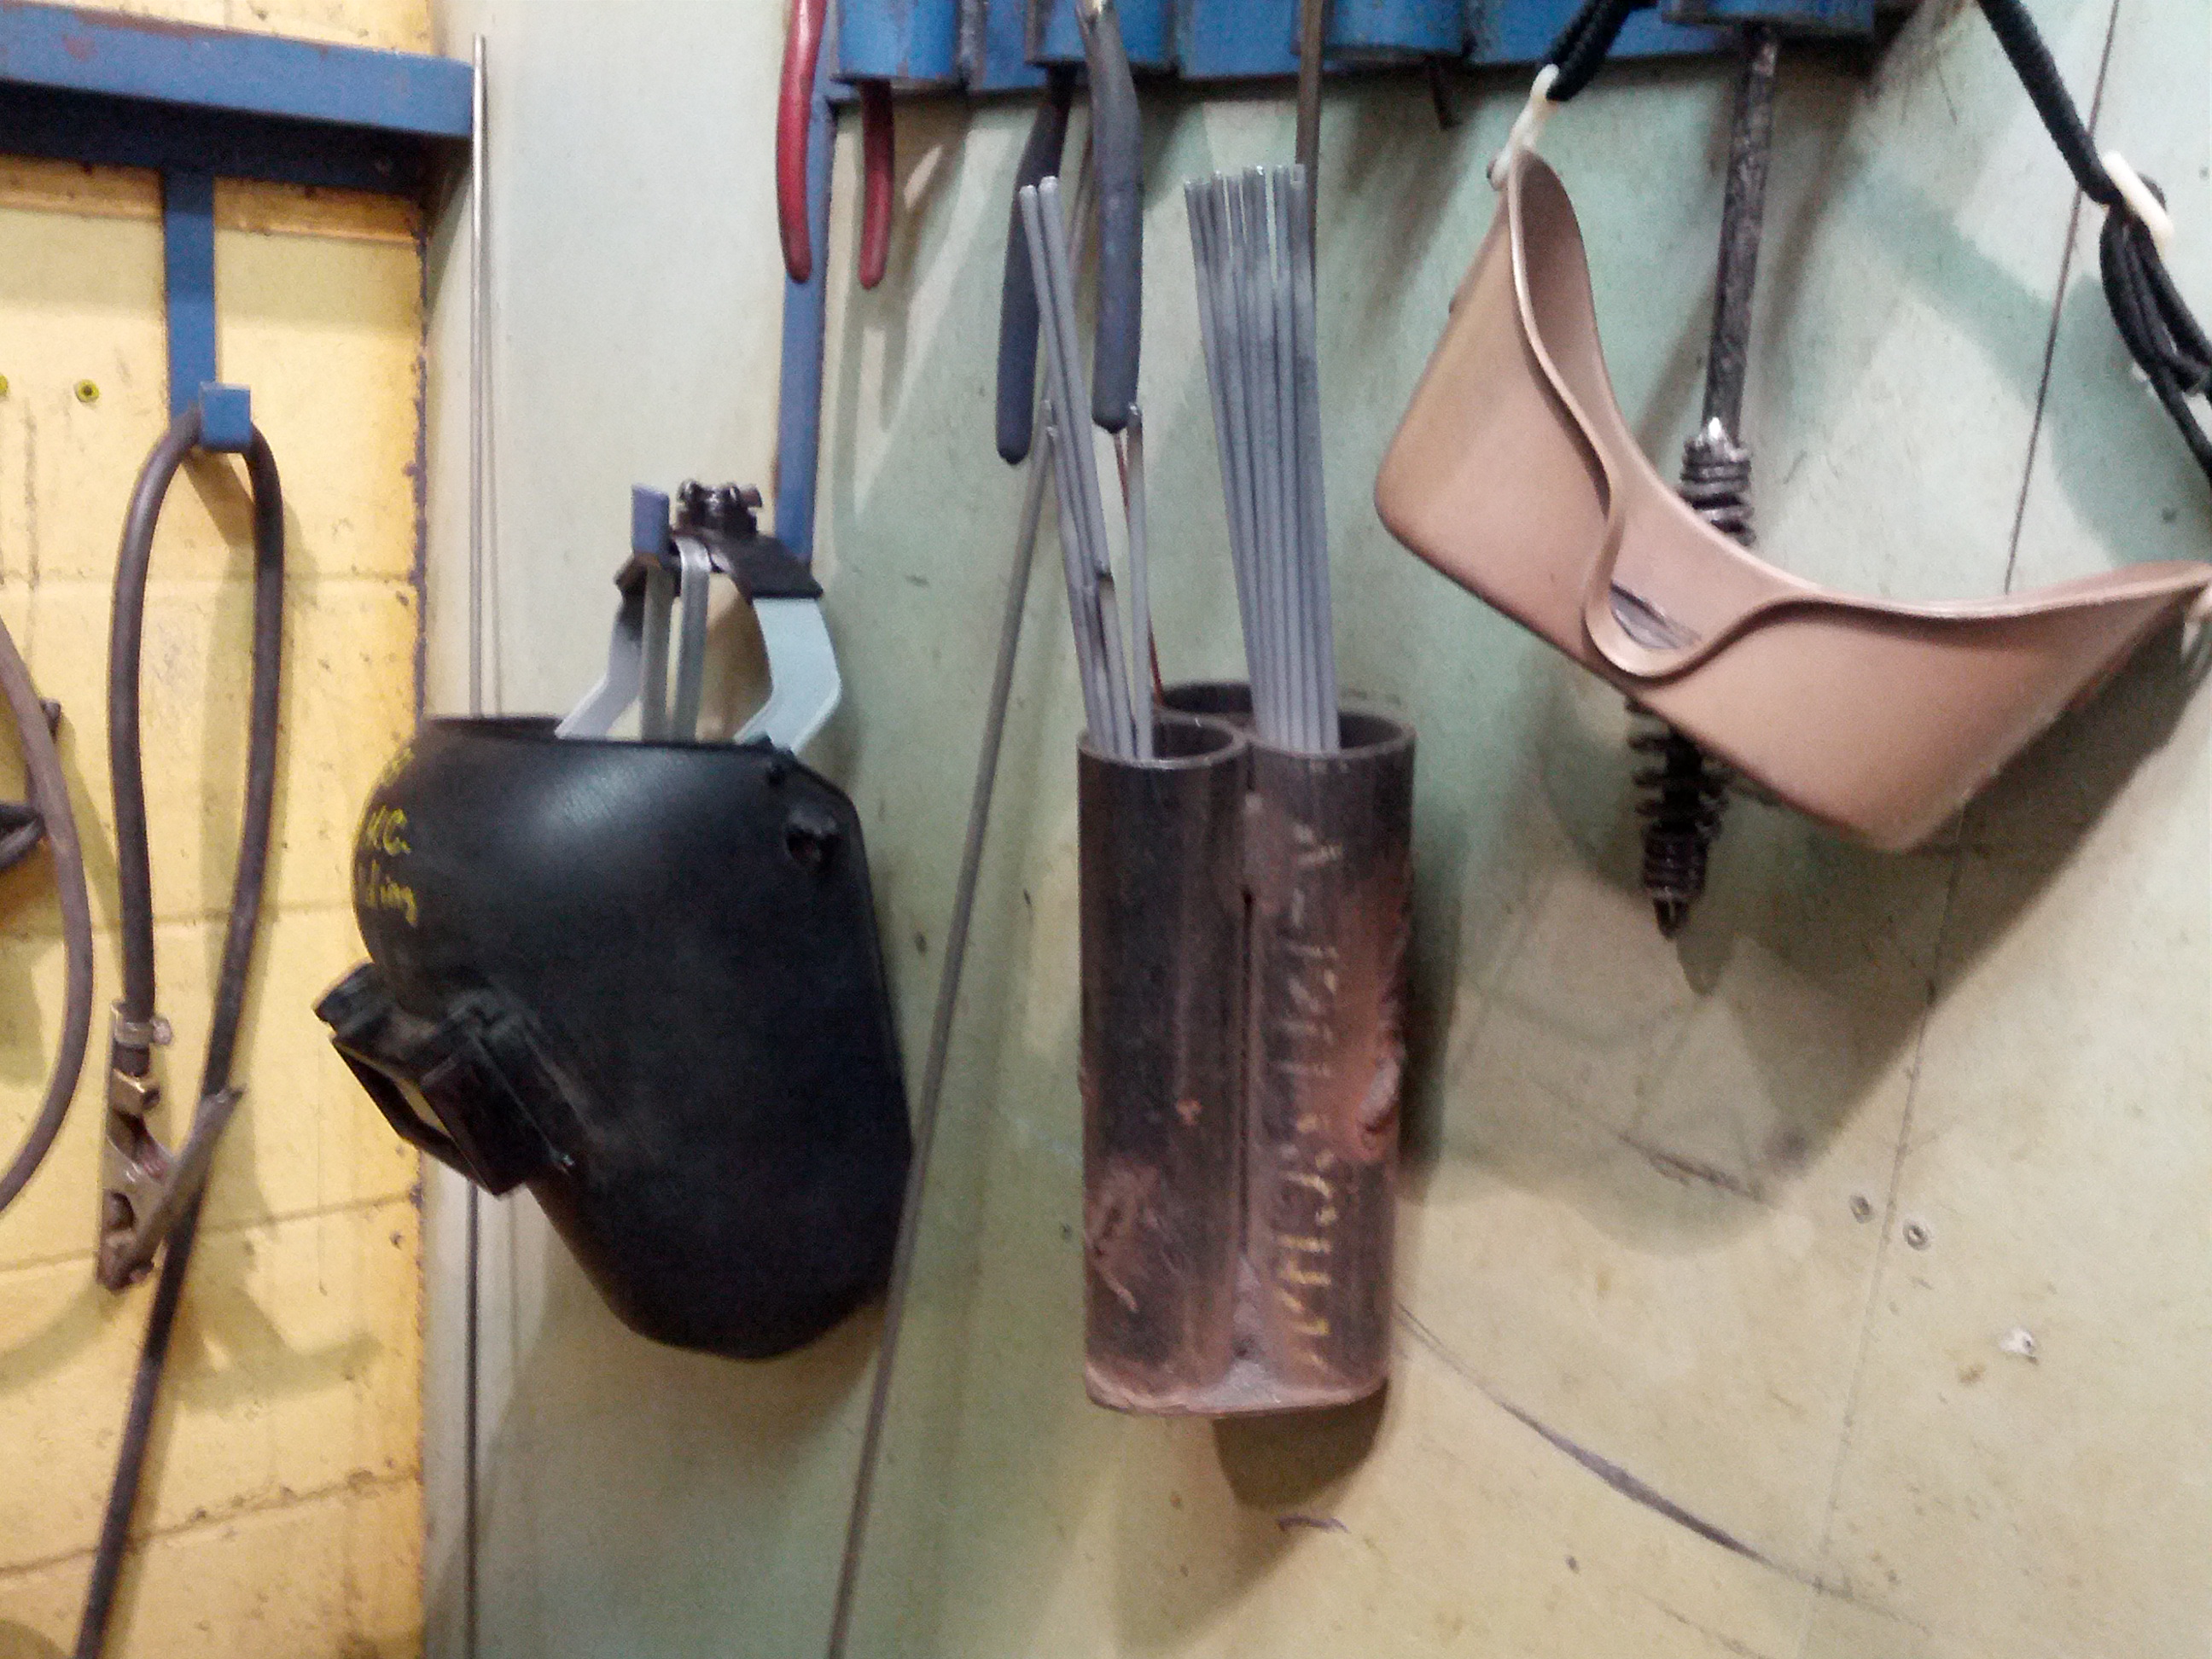
Aside from the technique of the weld itself, you must have the nozzle of the torch positioned VERY close to where you are going to weld BEFORE you pull the trigger. If you’re not close enough the wire will just shoot out of the nozzle and fizzle a little. If you’re too close you’re going to get the nozzle stuck in your weld and that’s just not cool. The catch is that you can’t actually look directly at your torch as you are welding because it can cause some serious damage to your eyes. Hence the wicked mask which has a VERY dark lens that filters out the bright light. It does such a good job that you can’t see a thing through it until you start welding. SO you keep the mask up so you can see, position your torch, and with a downward motion of your head you flick the mask down over your eyes, blocking out all sight and then, blind, you start to weld.
That too sounds simple. Especially because to knock the mask down over your eyes you just need to make a brief downward motion with your head and it falls into place.
It’s not that simple.
I think there is some sort of time/space rift that forms while the mask is descending. It doesn’t FEEL like you’ve moved, but somehow when you pull the trigger you find yourself 18 feet away, facing in the opposite direction and standing on one leg. (As a writer I reserve the right to exaggerate slightly for the sake of entertainment. I do this with all seriousness and gravity.) EIGHTEEN FEET AWAY. Flicking that mask down without moving the rest of my body was almost as challenging as trying to swim with an arm and a leg tied together.
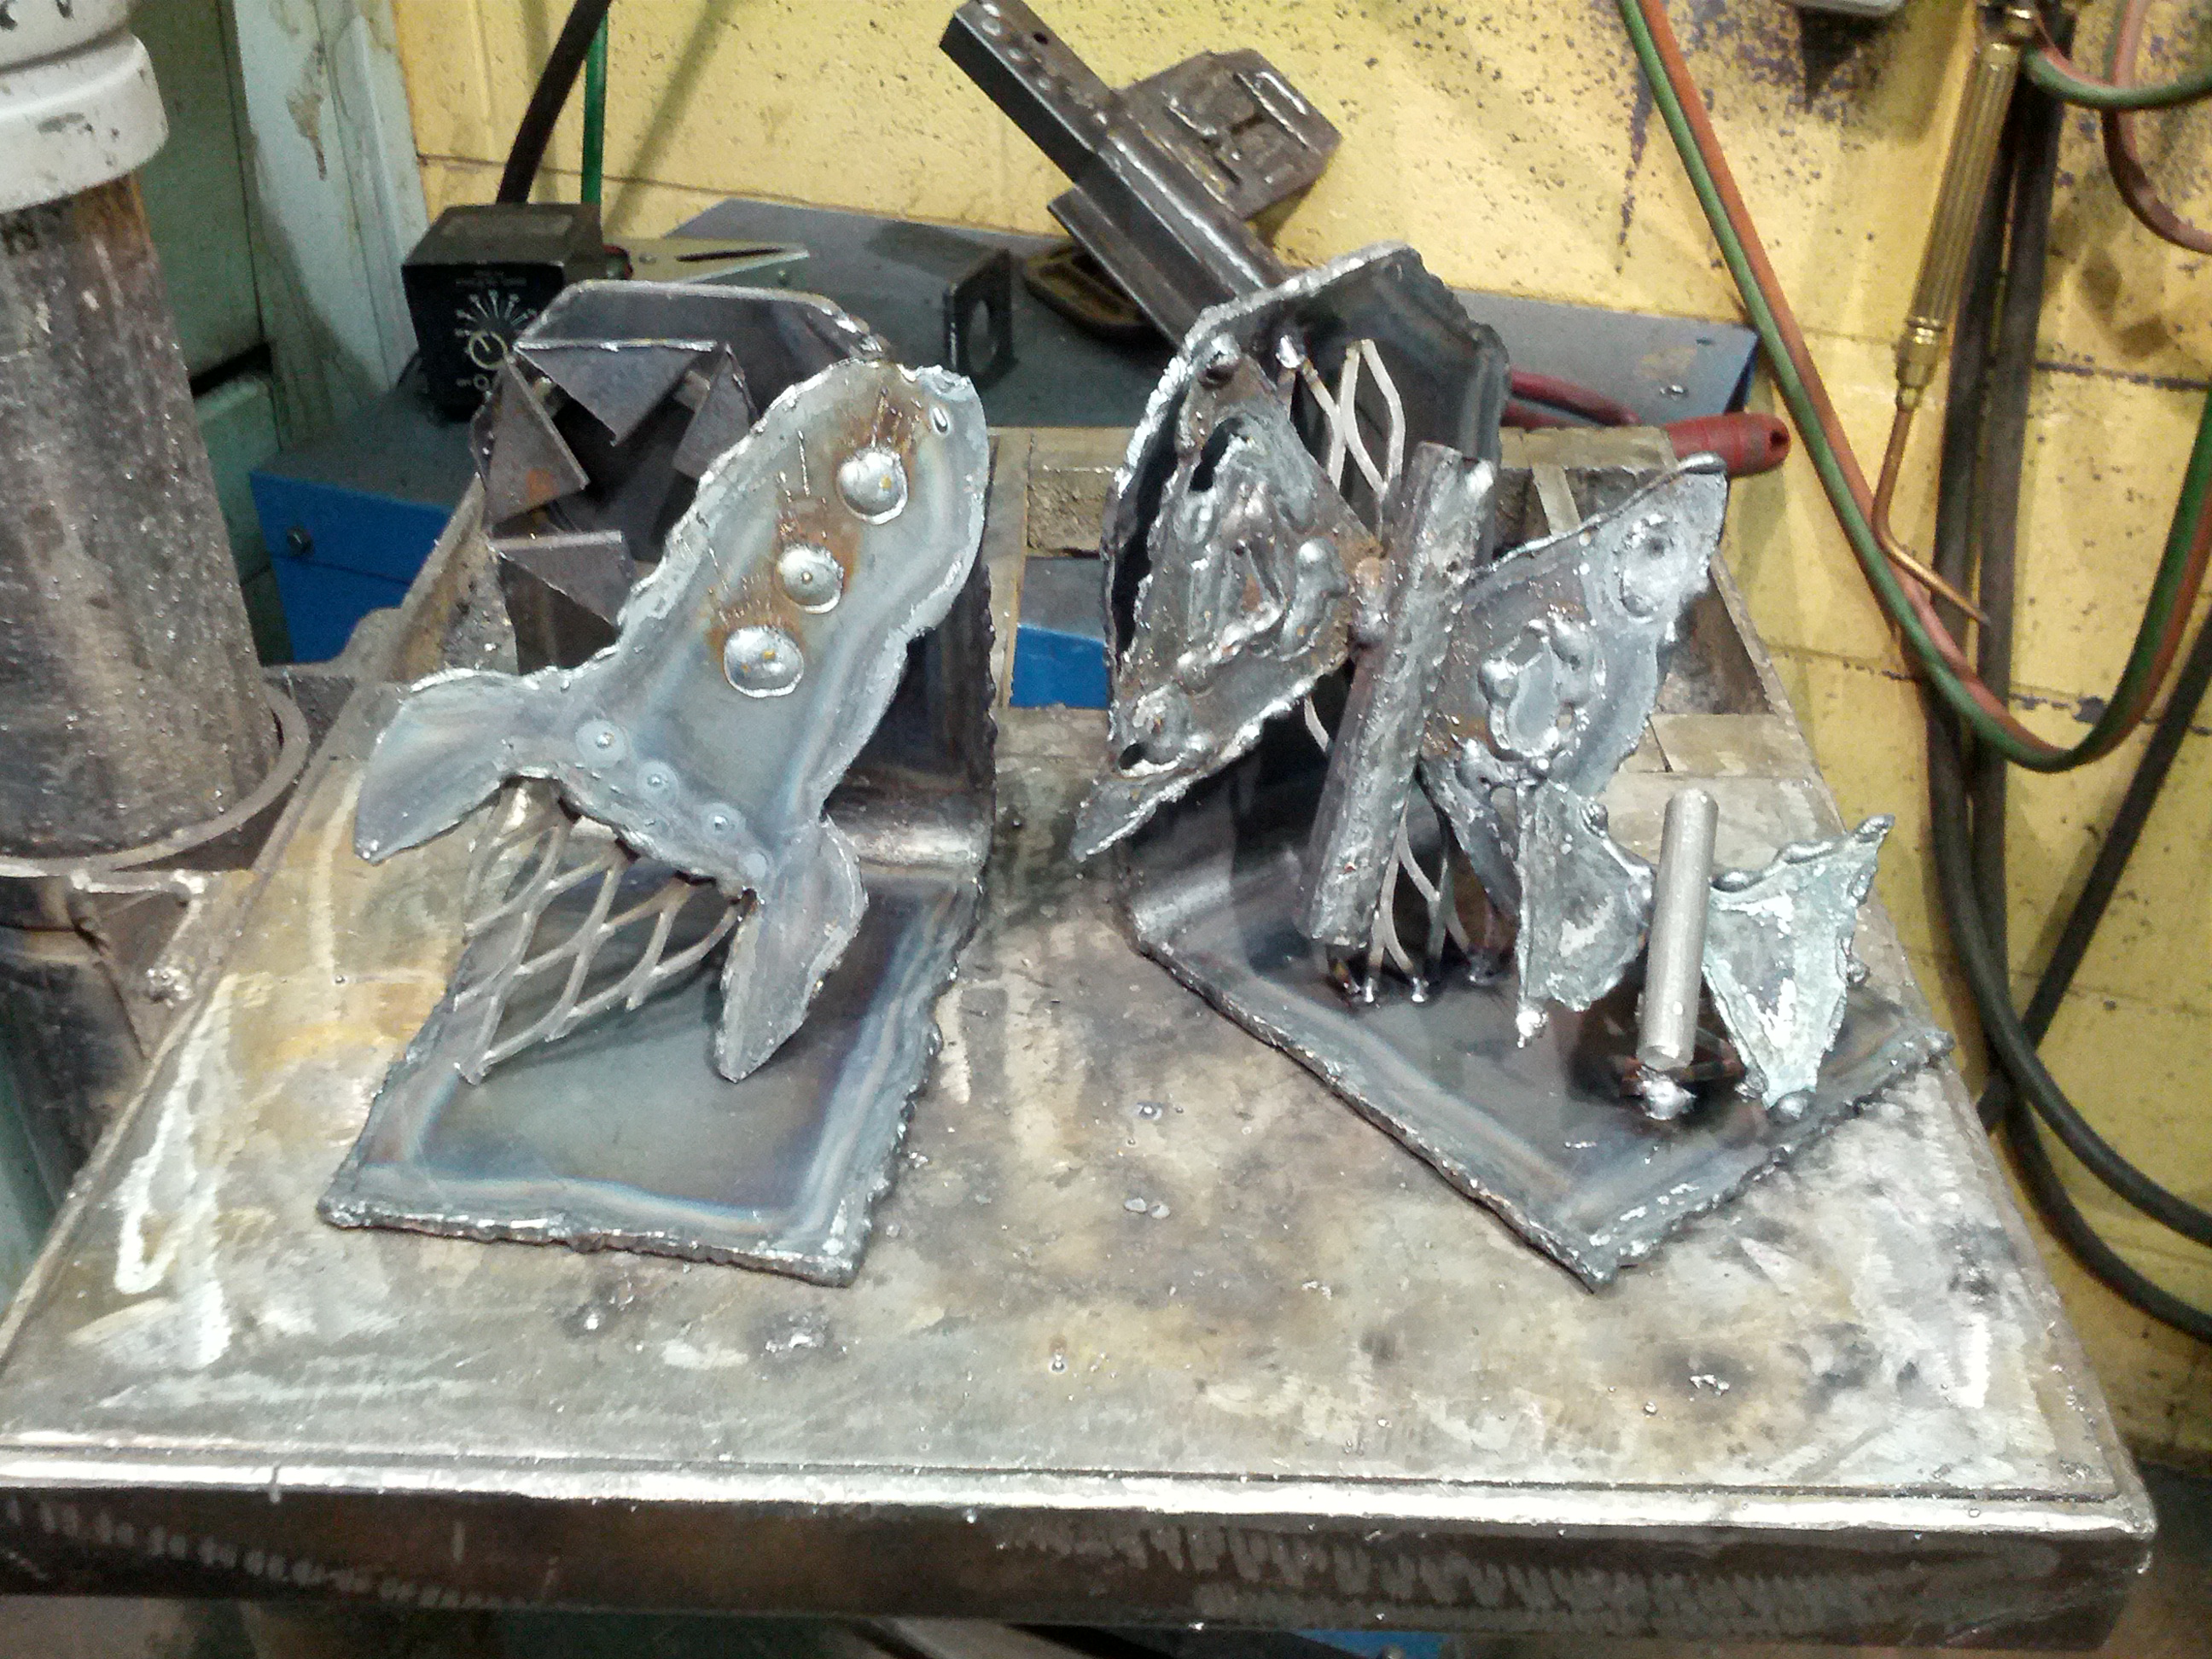
On the occasions that I managed to start the weld while still close enough to the metal, it wasn’t so bad. It turns out I weld very similarly to how I write on a blank sheet of paper, which is to say, not even remotely straight. Welding on a seam is much easier! (Then you have a line to follow.) ;)
The Acetylene Torch
When our instructor began to demonstrate this one, I definitely got a little twitchy. When she said not everyone had to try it I wanted to run away in relief. To light the torch you need to turn on the gas and then ignite it with a striker. There is a big ol’ burst of flame riiiiight beside your hand. I manned up. Got the job done. It turns out it wasn’t nearly as scary as I thought. (My hands didn’t shake even once throughout the entirety of the course. It was amazing.)

Once lit, you adjust the acetylene, introduce the oxygen, then adjust that too and you are good to go. I’m relatively confident that I ended up using the torch more than anyone else in the class. My heart stopped a little each time I had to light it, but melting the metal, and slowly figuring out speed and technique was a blast. (Minus any actual blasts, cause that would be bad. :P )
***
I didn’t come out of the course an expert, but I definitely have a basic understanding of the process, the techniques and the safety protocols. I have to give a HUGE shout out to my instructor, Jill Timushka; Not only is she incredibly knowledgeable in her field but she is a patient and extraordinarily helpful instructor. (And she was willing to follow me and take pictures, which was absolutely fabulous of her.) I’m confidant that her calm and straightforward approach to teaching is the main reason this course was as easy to get through as it was.

Aside from the expected, I also learnt a few additional things during this course.
- You can’t put on a welding mask if you’re already wearing a face shield. Can’t imagine why, but it just doesn’t seem to work out all that well.
- When it’s really quiet and you’re wearing earplugs, you can hear yourself blink.
It also occurred to me that one of the benefits of being a welder is that you would become rather skilled at knowing where things are in the dark. ;) *wink wink nudge nudge* (Sorry Mom.)
*ahem*
I love that I know more than I did a week ago. Not only do I have a new set of basic skills but I also know that there is one more thing out there that I CAN do. Would I do it again? Yes. Absolutely.
I can’t wait to find out what challenge I’m going to dream up for myself next. But whatever it is, I know it’s going to be great. And next time I’m sitting beside a campfire, I’m going brave an ember or two for the sake of warmth!
See you soon and thanks for stopping by!